Open weekends and school holidays! Purchase tickets here (and save $2)! 🎟️

Crystal Pumpkins

Crystal Pumpkins

October 17, 2024

October is here, which means falling leaves, cooler temperatures and of course, pumpkins! Try out this fun experiment to grow your very own crystals in the shape of pumpkins while learning about saturated solutions.

‍

‍

Materials:

- 5 Orange Chenille Stems

- 5 Green Chenille Stems

- Borax Powder

- Water

- Spoon

- 1T Measuring Spoon

- 1C Measuring Cup

- Glass Jars or Cups

- Pencils

- Paper Towels

‍

‍

‍

Procedure:

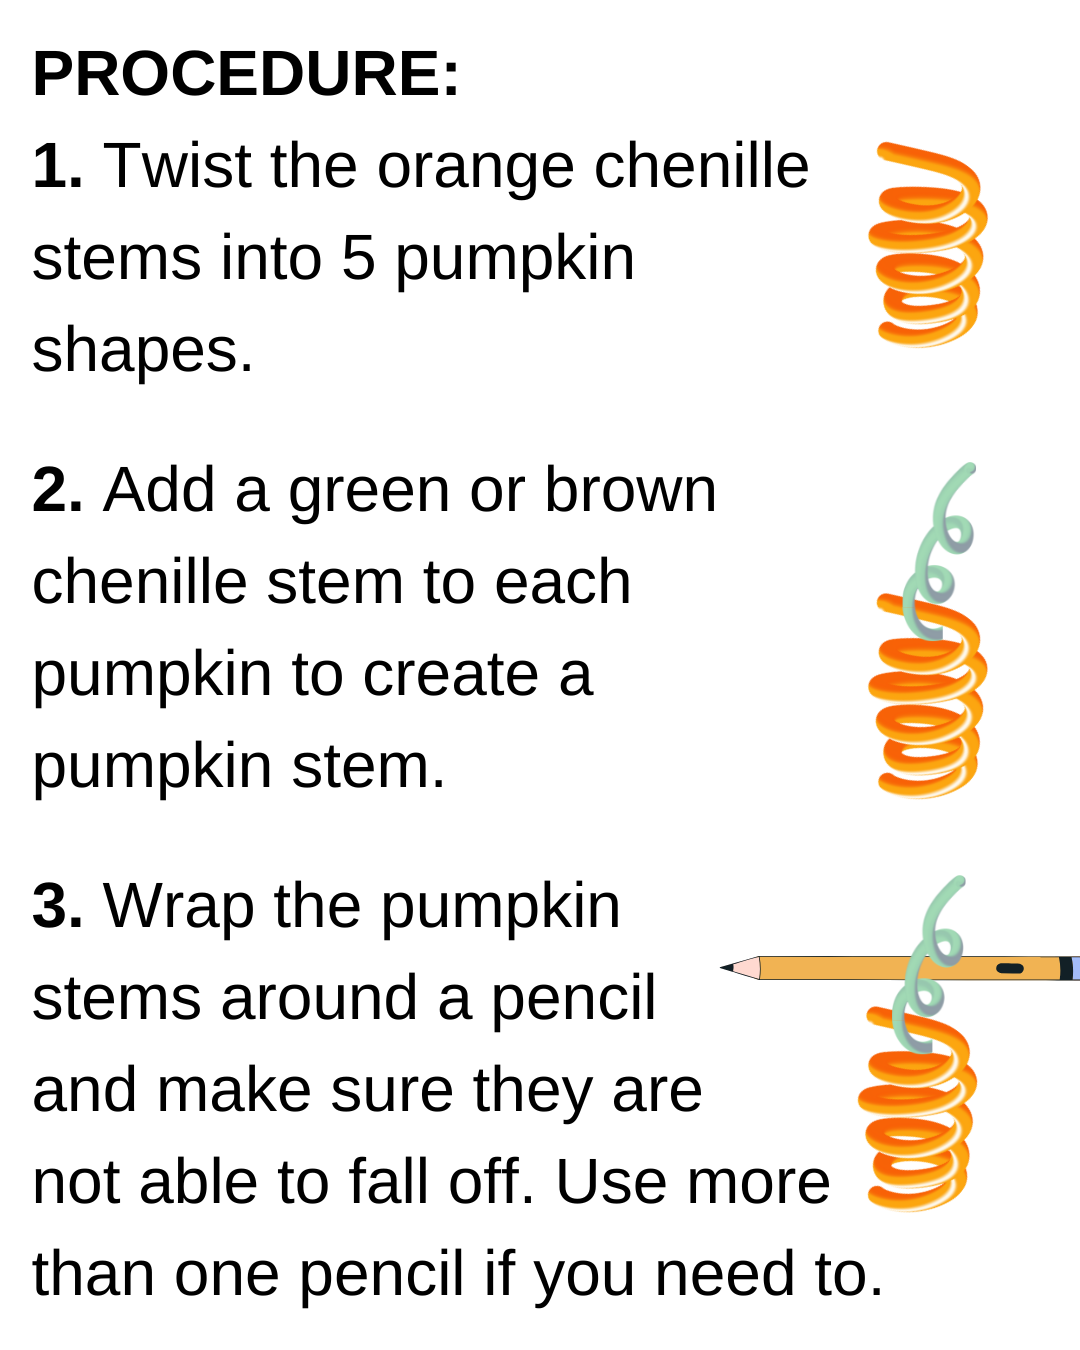
1. Twist the orange chenille stems into 5 pumpkin shapes.

‍

‍

2. Add a green or brown chenille stem to each pumpkin to create a pumpkin stem.

‍

‍

3. Wrap the pumpkin stems around a pencil and make sure they are not able to fall off. Use more than one pencil if you need to.

‍

‍

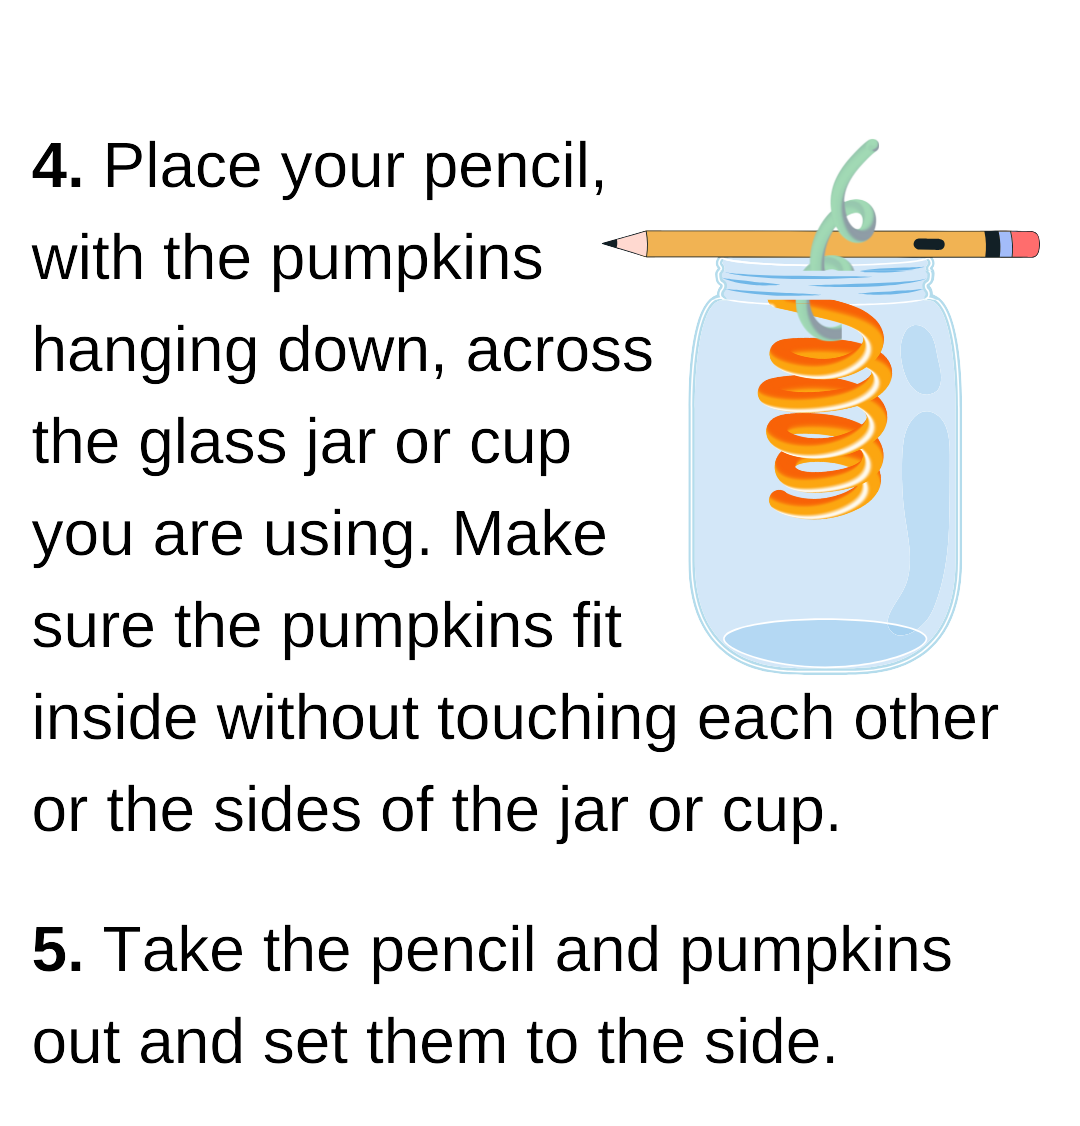
4. Place your pencil, with the pumpkins hanging down, across the glass jar or cup you are using. Make sure the pumpkins fit inside without touching each other or the sides of the jar or cup.

‍

‍

5. Take the pencil and pumpkins out and set them to the side.

‍

‍

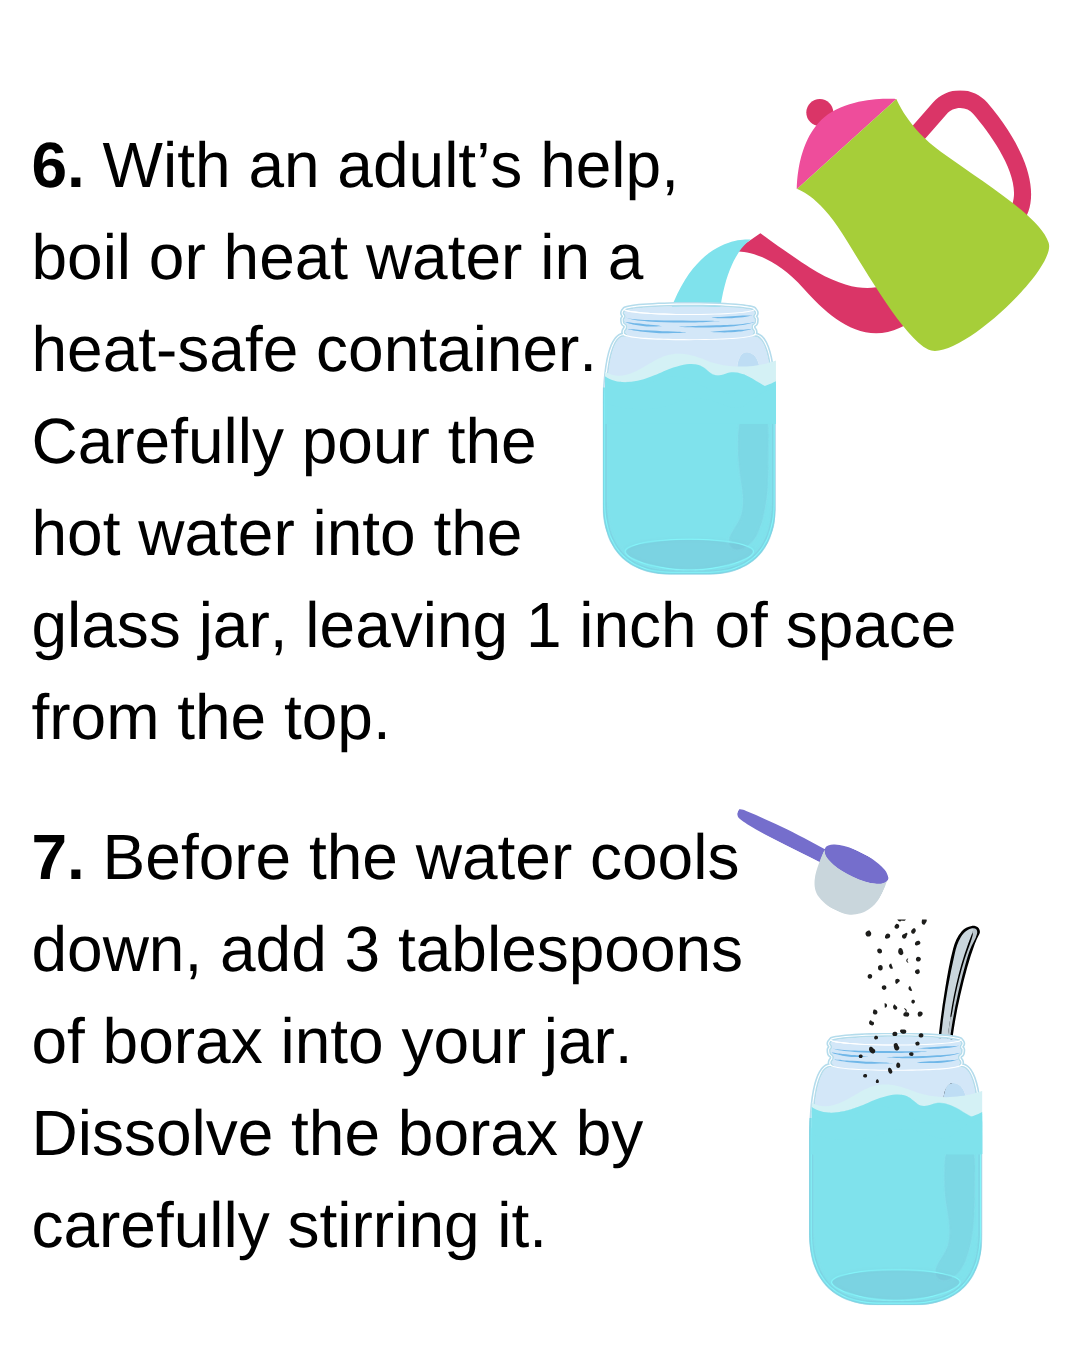
6. With an adult’s help, boil or heat water in a heat-safe container. Carefully pour the hot water into the glass jar, leaving 1 inch of space from the top.

‍

‍

7. Before the water cools down, add 3 tablespoons of borax into your jar. Dissolve the borax by carefully stirring it.

‍

‍

‍

‍

‍

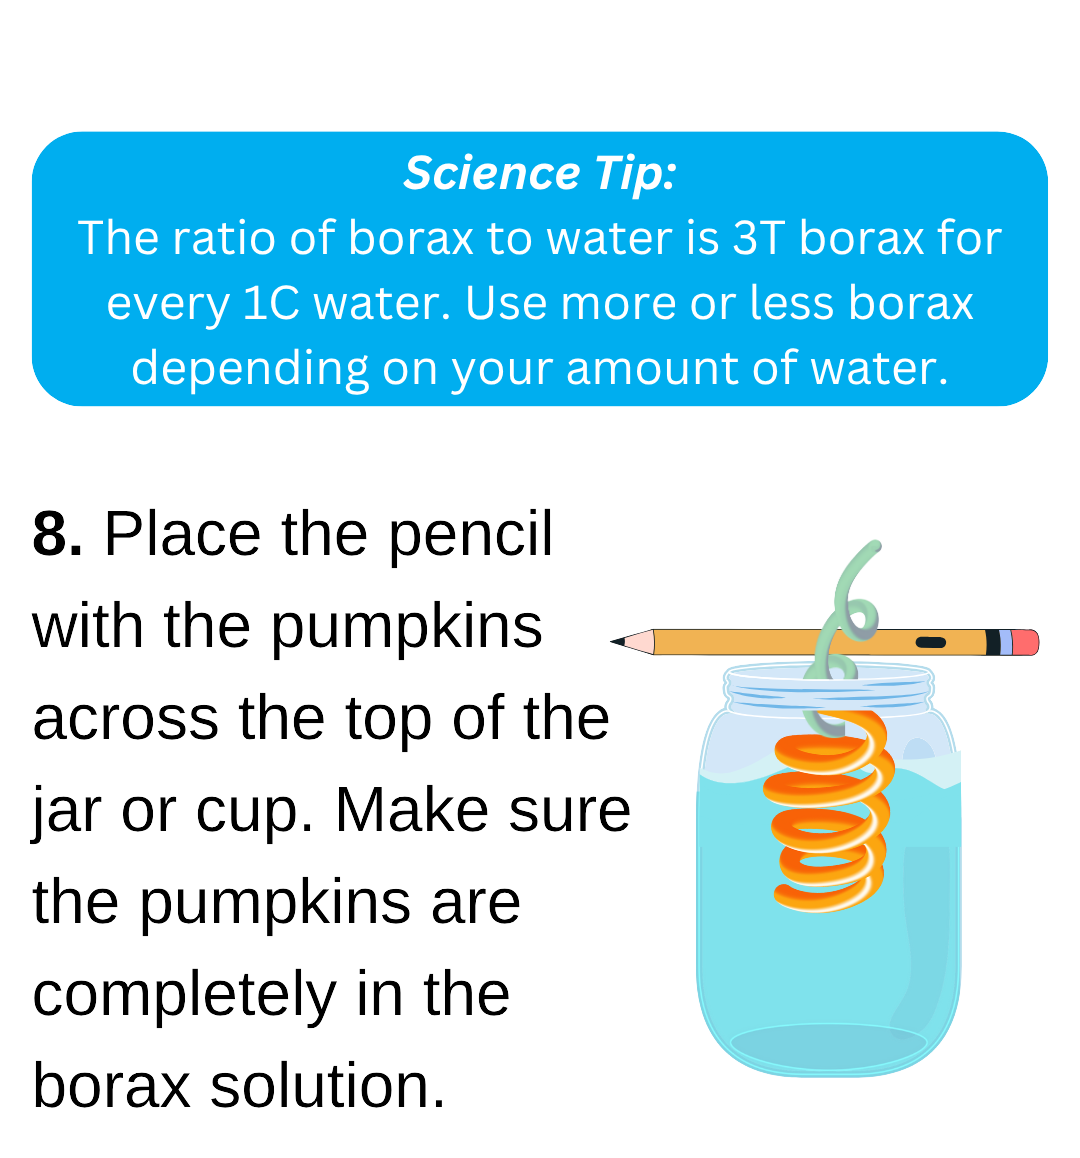
8. Place the pencil with the pumpkins across the top of the jar or cup. Make sure the pumpkins are completely in the borax solution.

‍

‍

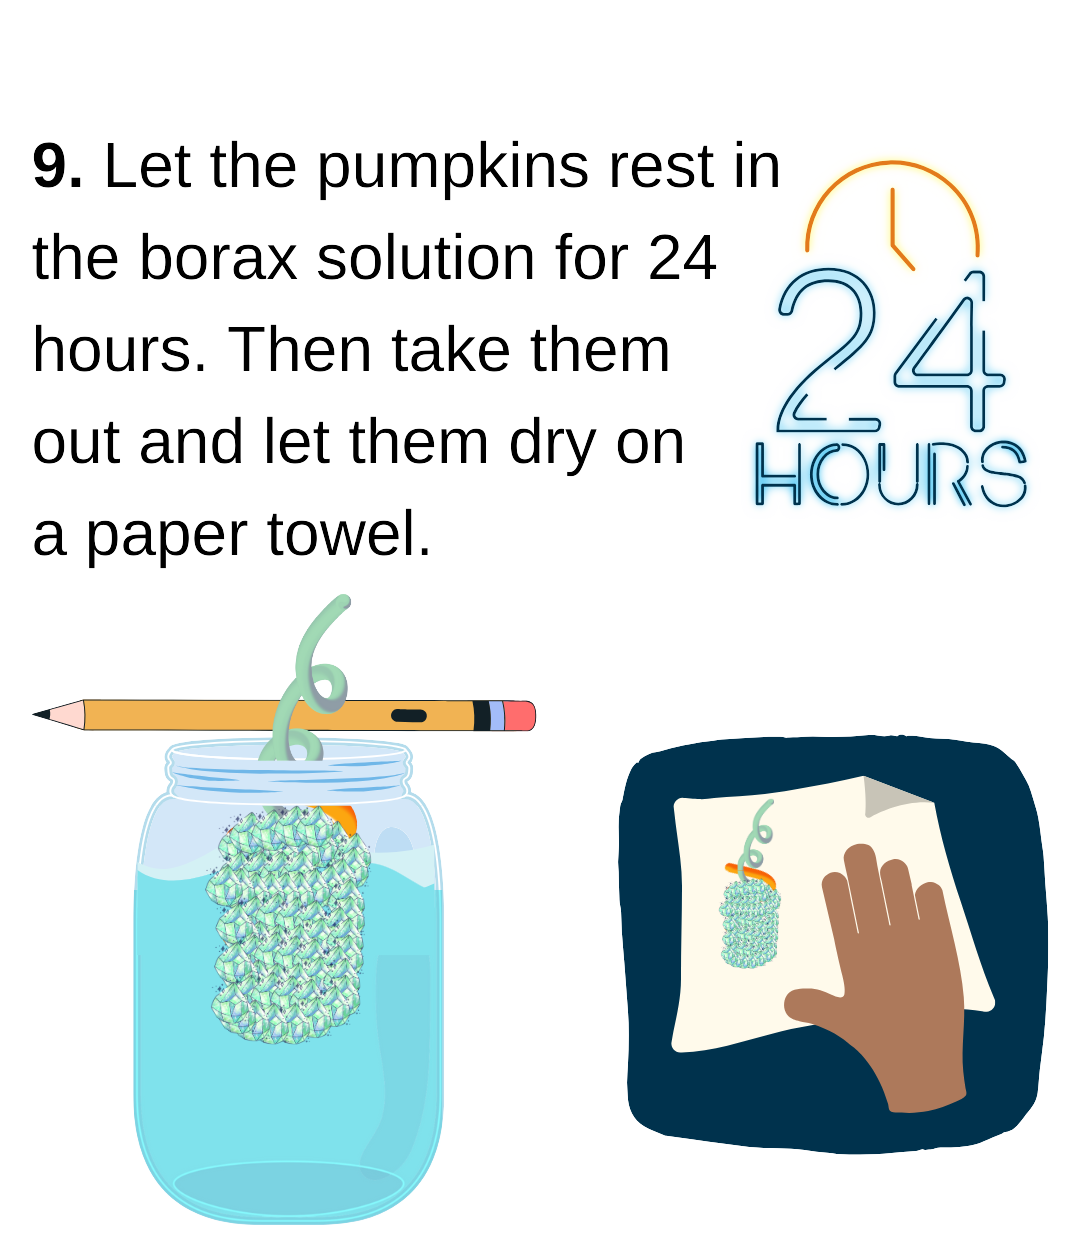
9. Let the pumpkins rest in the borax solution for 24 hours. Then take them out and let them dry on a paper towel.

‍

‍

‍

What's Happening?

What you’ve created by mixing the water with borax is called a saturated solution. Hot water holds more dissolved borax than cold water. As the solution cools, the molecules in the water move closer to one another and the particles settle out. Crystals come from these particles settling out.

‍